
If you are looking to renovate your space with moulding, look no further! You can measure it yourself to match what your home already has. Whether you want to crown, case, and base moulding, your guide is below.
DIY Measure Guide
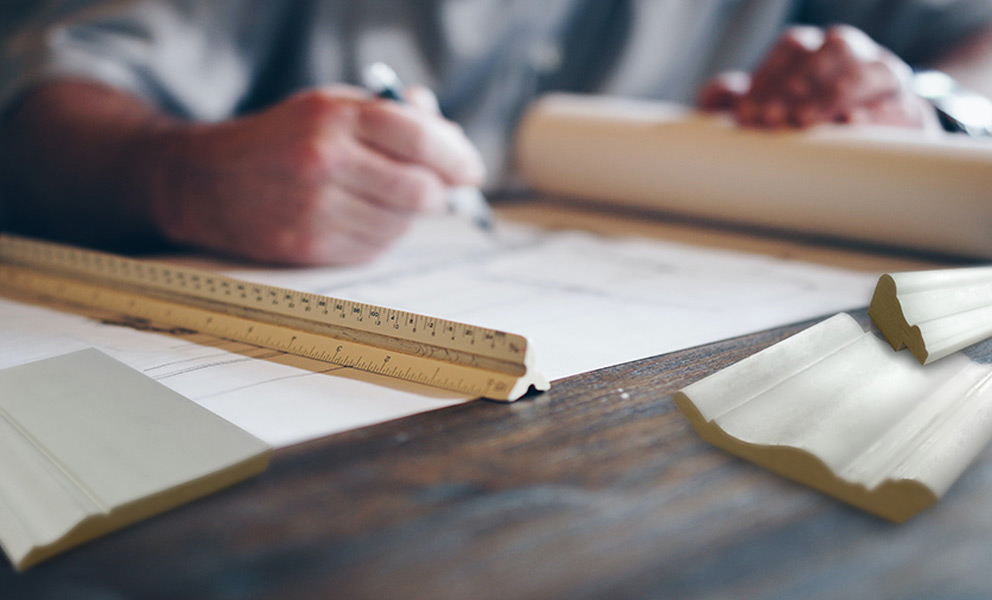
- Measure the room at the height or length where each moulding goes to determine the number and the length of the pieces you'll need. When figuring how much footage your project requires, for each type of moulding, base, casing, crown, etc., measure your walls or openings and add the footage. Then multiply the footage by 1.1. The result is the total footage needed plus 10% for waste.
- When ordering casing for 6/8 doors: Jambs that are 80-5/8˝ BD use 7´ casing on profiles 3˝ wide or smaller. Use 17´ casing for profiles wider than 3˝ or for 8/0 doors. Jambs that are 81˝ BD use 7´ casing on profiles 2-1/4˝ or smaller and 17´ casing for profiles wider than 2-1/4˝ or for 8/0 doors.
- The most important tool when working with moulding is patience. Remember the old adage, measure twice and cut once. Never try to rush trim work. Lengths ordered may not always be available. Always verify availability when ordering.
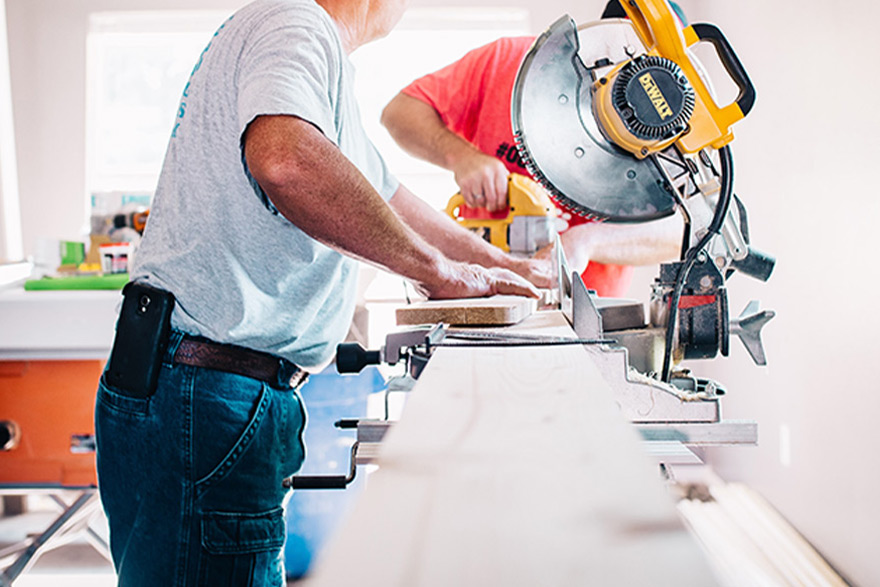
- Tools For The Job
- Materials:
-
•Quality Miter • Box Nail Set
• Tape Measure • Putty Stick
• Hammer • Pencil & Paper
- Tips:
-
• Base, shoe, and quarter rounds should be the last mouldings to be installed.
• After installation is complete, caulk and/or putty all gaps and nail holes.
• Check the moisture content of all wood moulding: for interior trim, the MC should be 8-10%; for exterior trim the MC should be 12-14%. For every 4% change in MC, wood moves 1%.
- For more information on moulding