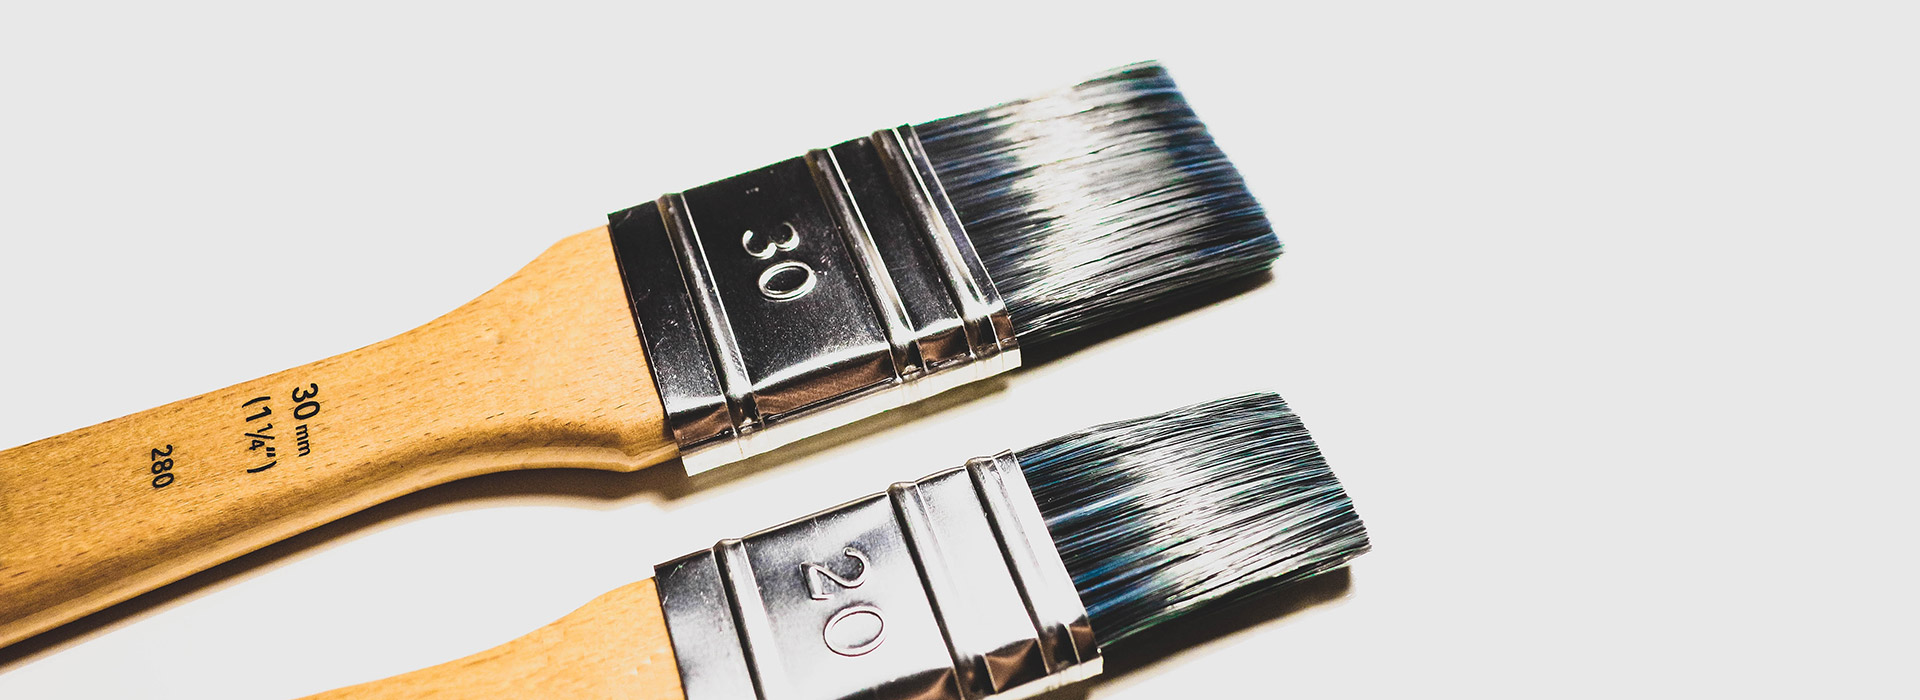
If you are looking to renovate your space with ValuFlex moulding, look no further! You can customize it yourself to match what your home already has. Whether you want to stain or paint the moulding, your guide is below.
DIY ValuFlex Painting
Your step by step guide to painting your ValuFlex.
-
Fill and Sand
Like you would with wood, use a filler that will adhere to a urethane, petroleum-based product.
-
-
When Using Water Based Latex Paint
Proceed as you would with any paintable product.
-
When Using Oil Based Paint
Warning! Oil-based paint may create a reaction where the oil based paint may not dry. For proper application of oil-based paint; apply two base coats of latex enamel (water-based) paint as your primer. When water based paint is fully cured, proceed to apply your oil-based paint.
-
-
Apply Enamel
Latex Enamel or Oil Based Enamel, like straight mouldings, and finish the same.
-
LET DRY
Enjoy!
DIY ValuFlex Staining
Your step by step guide to staining your ValuFlex.
-
WE STRONGLY RECOMMEND
that first time users practice on a piece of scrap ValuFlex moulding before finishing the moulding being used for the job.
-
Remember, wood is porous, ValuFlex is not. We suggest you use a water based full body stain ZAR Wood Finishing Products are recommended
-
To reveal grain, apply stain and wipe off, then begin the staining process.
-
Apply stain in thin coats with brush or spray gun, the achieve desired color. Removing excess with a dry cloth.
If Using An Oil Based Stain:
Apply (2) coats of a clear wood finish (recommended, Deft Clear Wood Finish) to the entire product. Apply stain as directed.
-
LET DRY
Enjoy!