Working with Moulding
The Right Tools for the Job:
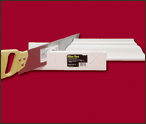
- Quality Miter
- Box Nail Set
- Tape Measure
- Putty Stick
- Hammer
- Coping Saw
- Finishing Nails
Estimating
To figure out how much moulding is needed, carefully measure the length of each wall where your moulding will be installed. Record the length of each piece and round up to the next foot. Total the lineal footage needed. Add 5-10% for cutting and trimming and order the number of pieces needed in the available length of the material selected.
Mitering
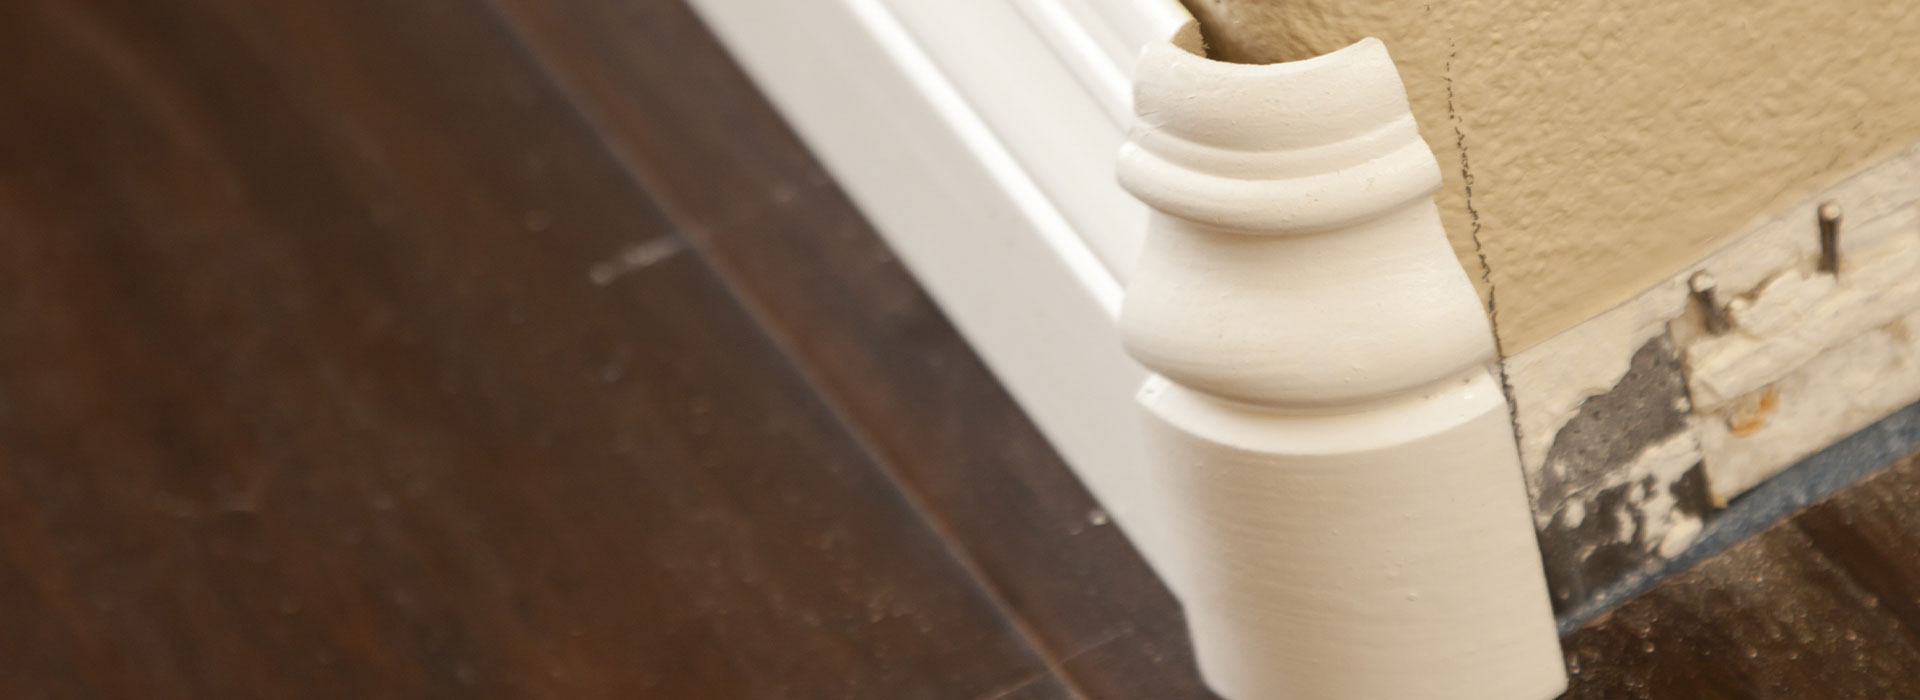
Most miter joints are 45° angles. The moulding is either placed flat on the bottom of the miter box or against the back, depending on how the moulding is to be used. Each of the two mitered members are trimmed at opposite 4 angles. When fitted together, the two pieces will form a 90° angle. For tight mitered joints, nail and glue, then countersink the nails.
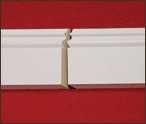
Splicing
Occasionally it may be necessary to splice mouldings together on a long wall. To do this, position the pieces in the wall miter box as if the back of the miter box were the wall. Miter the joining ends at a 45° angle.
This will allow one piece to overlap the other, making a scarf joint. Make the joint where the two pieces can be nailed into a solid piece of lumber, such as a stud, top plate or bottom plate. Gluing the joint will assure you that the joint will stay closed.
Coping
Position the piece in the miter box as if the back of the miter box were the wall when cutting the miter. Trim at a 45° angle. The resulting cut exposes the profile of the moulding, which serves as a guide line for the coping saw.
Following this profile with the coping saw at a right angle with the face of the moulding. This cut results in a duplication for the moulding pattern which will then fit tightly against the face of the adjoining moulding.
Fastening
Power tools should be set at 100 to 110 PSI to compensate for MDF's dense surface. A little glue and small diameter nails assure tight joints. Putty the holes, sand to blend and then paint.
Factory primed mouldings permit the use of both water-based and solvent-based finish coat applications. Avoid using any catalyzed paints or varnishes. A second prime coat or scuff sanding is optional. Apply the finish coats with brush, roller or spray using flat, semi-gloss, enamel or lacquer; whatever suits your requirements.
Jigs
Many projects require "picture framing" techniques of extreme accuracy. A jig in the mold in which frames are made more rapidly uniformly. The inside dimensions of the jig equal the outside dimensions of the frame. The jig consists of stock lumber pieces nailed to any flat surfaces. Blocks can be used where necessary to straighten mouldings against the side of the jig.